Creating Templates
An onboarding template is a reusable blueprint that defines the steps your team follows for every new client. When you start an onboarding from a template, all steps are copied in automatically — saving you from setting them up from scratch each time.
Creating a Template
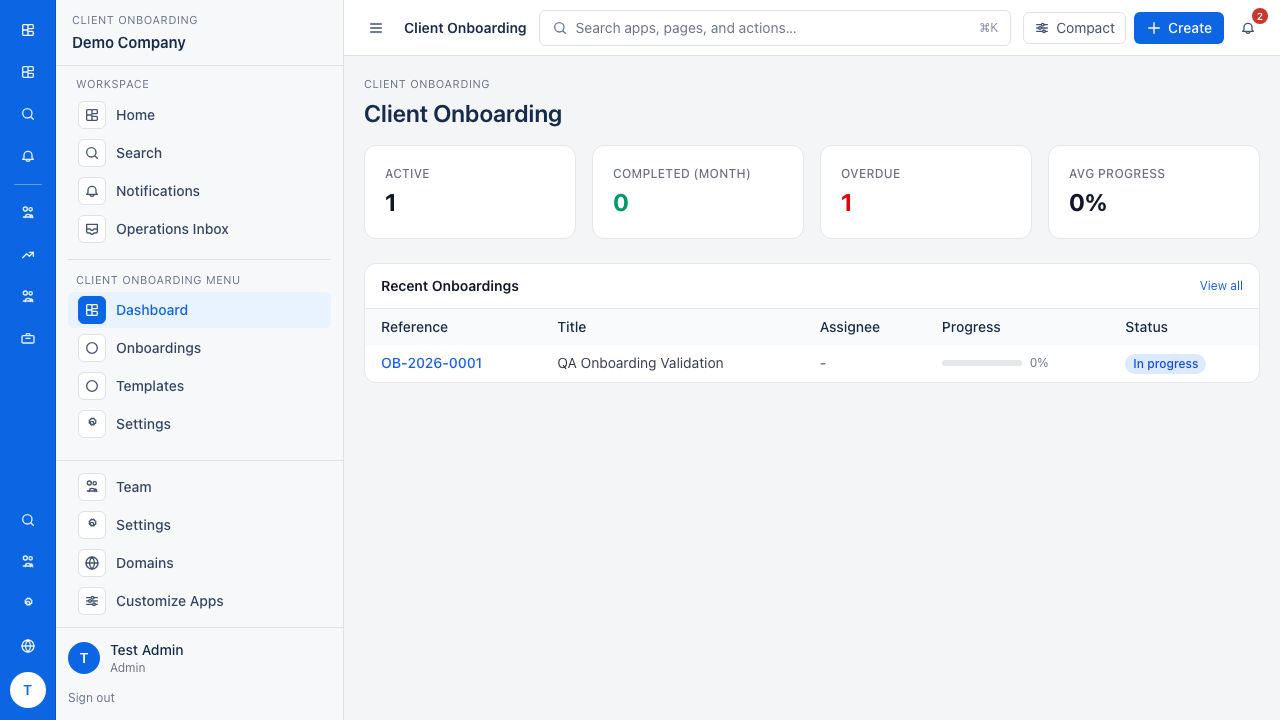
Open the Onboarding list
Navigate to Client Onboarding in the sidebar to see all active onboardings.
Go to Templates
Click Templates to manage your reusable onboarding blueprints. From here you can create a new template or edit an existing one.
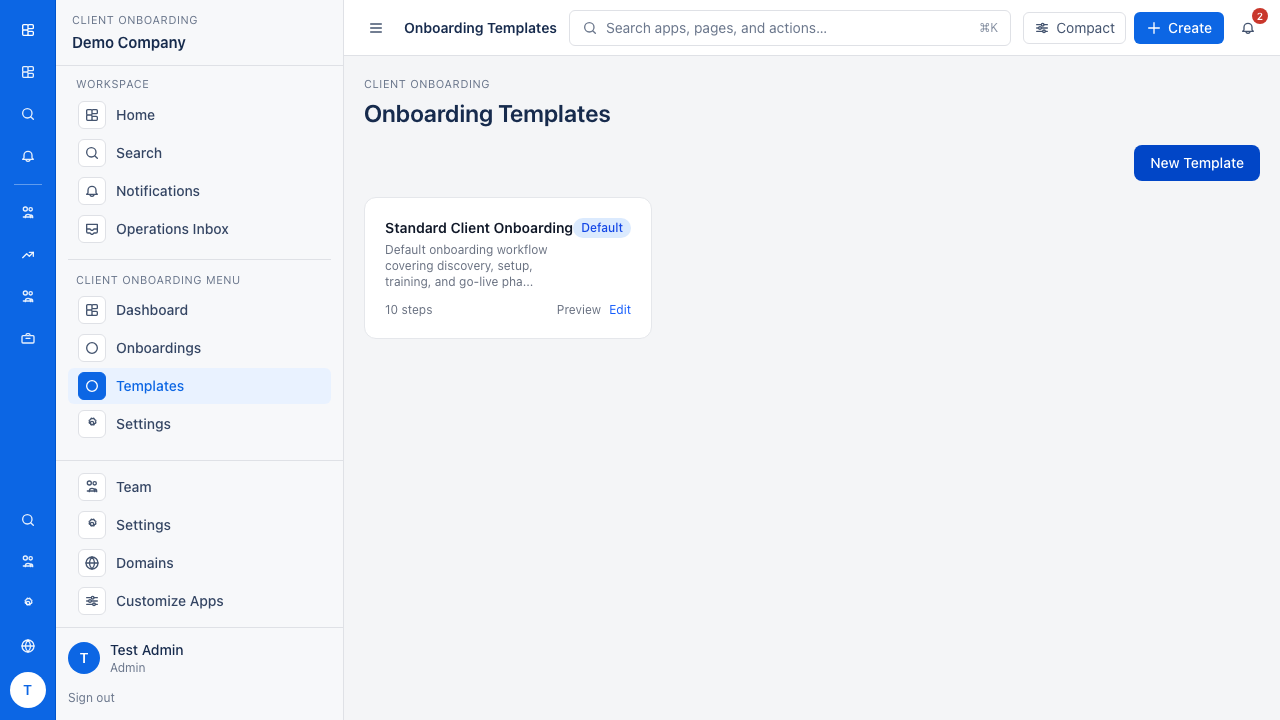
- Go to Client Onboarding → Templates.
- Click New Template.
- Enter a Name (required) and an optional Description.
- If this is your standard process, tick Set as Default — when creating a new onboarding, the default template is pre-selected.
- Click Save.
You are taken immediately to the template edit page to add steps.
Only one template can be the default at a time. Setting a new template as default automatically clears the flag on the previous default.
Adding Steps to a Template
From the template edit page, use the Add Step form:
- Enter a Phase label (e.g., "Kick-off", "Setup", "Handover") — phases let you group related steps visually on the onboarding checklist.
- Enter a Title for the step (required).
- Add an optional Description with guidance notes for whoever completes the step.
- Select a Type:
| Type | When to use |
|---|---|
| Manual | A human must complete and mark done |
| Automated | Triggered by system automation |
| Conditional | Only applies under certain conditions |
| Approval | Requires sign-off from a specific person |
- Tick Required if this step must be completed before the onboarding can close.
- Set Due Days — a relative number of days from the onboarding start date by which this step should be done. Leave blank for no deadline.
- Click Add Step.
Steps appear in the order they were created.
Reordering Steps
Drag and drop steps into the order you want. The sort order saves automatically. You can also reorder steps programmatically via the API if needed.
Editing and Deleting Steps
On the template edit page, each step has Edit and Delete actions. Editing a step does not affect any live onboardings already created from this template — only future onboardings inherit the updated steps.
Managing Templates
From the Templates list you can:
- See the total Step Count for each template
- Toggle a template Active / Inactive — inactive templates do not appear when creating new onboardings
- Delete a template (this does not affect existing onboardings created from it)
Before deleting a template, consider deactivating it instead. Deactivated templates stay available for historical reference but are hidden from the create onboarding workflow.
Once you have templates set up, see Checklists & Tasks to start your first onboarding, and Tracking Progress to configure workspace-wide defaults such as the default template, default assignee, and due-day rules.